Nothing is for sale here. Freewill tips keep the site running. Want to help? → Tip via Paypal
CSS Speech Bubbles
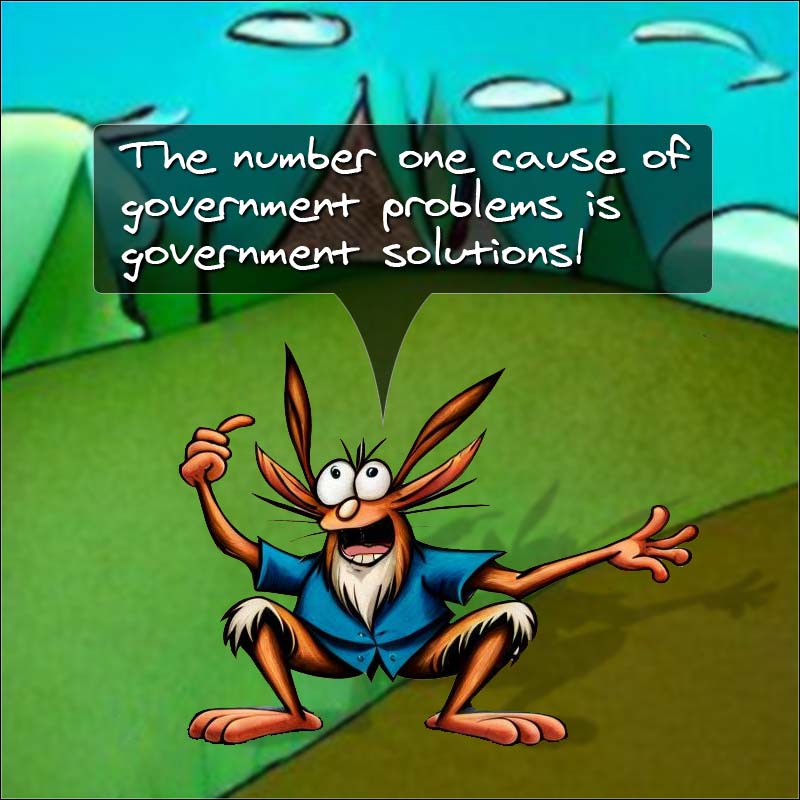
Yeah, that’s me grandson in the photo acting all goofy. Goofy runs in the family.
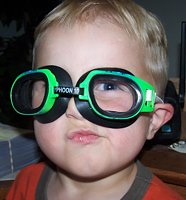
Cute isn’t he? That’s because…
…he doesn’t look anything like me!
There are three parts to the HTML for this little gizmo, and two parts to the CSS.
Don’t be afraid. Code isn't really that scary—not like marshmallows are. Eek!
The tricky stuff is in the CSS. All you need to do though, is copy and paste the code and make the necessary adjustments.
It will all be explained. Or most of it, anyway. BWA-HA-HA-HA!
Ready?
Let’s take a look at the HTML first.
<div style="float: left;
max-width: 220px;
padding-right: 14px;
border-right: 1px solid orange;
margin-right: 14px;">

<div class="bubble">
My grampa is glad you're here. I am too because it means he can keep buying me jellybeans.
</div>

<img src="images/ethan.jpg"
style="width: 186px; height: 200px; margin: 22px 0;"
alt="That's muh-boy!">
</div>
Line 2 sets the max-width for responsive sites. You can change that to just "width" otherwise. One of them need to be there or the division will take all the horizontal space and you won't be able to flow text beside it.
This division acts as a container so we can run text alongside the picture and speech bubble. If you make the division wide enough to push the text away from the speech bubble and picture you won’t need to add a margin. I did because of this next part...
Lines 3-5 adds a divider line between the picture and the text. The 14px of padding and 14px of margin puts the divider halfway between the picture and the text. You can remove the padding and border lines if you don't want the vertical divider line. The margin is needed to keep text from butting up against the image.
Line 7 opens the "speech bubble" division. After the content is added (Ethan’s words, in this example), the division is then closed. Note that the container division is still open.
Line 11 starts the third part of the code, which is Ethan's picture and then the closure of the container division at the end.
Easy enough! Now let’s look at the CSS where the heavy lifting is done…
.bubble
  {width: 160px;
   font-size: 1.2vw;
   margin-left: 13px;
   padding: 7px;
   color: white;
   background-color: black;
   position: relative;
   -moz-border-radius: 10px;
   -webkit-border-radius: 10px;
   border-radius: 10px;}

.bubble:before
  {content:"";
   position: absolute;
   left: 38%;
   bottom: -20px;
   width: 0;
   height: 0;
   border-top: 13px solid transparent;
   border-right: 26px solid black;
   border-bottom: 13px solid transparent;
   -ms-transform: rotate(270deg);
   -webkit-transform: rotate(270deg);
   transform: rotate(270deg);}
The first chunk of code (lines 1 – 11) is the main speech bubble. The second chunk of code (lines 13-25) is the little spike pointing downward that indicates the words in the bubble are Ethan’s words or thoughts.
Now don't let that big, bad CSS monster scare you! As previously stated, you can copy and paste the code and tweak it for your needs. There’s not a lot you’ll need to tweak, but…
If your picture is a different size, you can adjust the margin in line 4 to have the speech bubble positioned over the center of the image or wherever the subject who will be talking is positioned.
You can adjust the size of the rectangle that holds the text in the first part of the code. Just change the width in line 2 to fit your needs. The height is left off so it will expand vertically with the amount of text.
To adjust the little "spike" that points out of the speech bubble to the person talking, change line 16. I have left: 38% which puts it over my grandson's mouth. Chane the percentage, and if need be, change left to right.
The percentage in line 17 may need to be adjusted to your image/bubble if you make changes. This is what matches up the top of the pointer to the bottom of the container. A greater negative number will lower the pointer. A smaller negative number or a positive number will raise it higher.
Other adjustments you can make (without breaking the Internet) is the color of the speech bubble. To do that change "black" to any named color, hex color, or RGB color in both parts of the code in line 7 and line 21. You can change the text color in line 6. You can change the border radius in lines 9-11. Lines 9 and 10 are for older browsers. Line 11 is for modern, CSS compliant browsers.
So . . . that wasn't so bad, was it? Now go make someone saying something funny.
PS - If you like this tutorial you might also be interested in the CSS shapes tutorial.