Nothing is for sale here. Freewill tips keep the site running. Want to help? → Tip via Paypal
Image Alignment and Text Flow
 With the HTML align attribute deprecated, using CSS to “float” an image is the proper way to align an image left or right and flow text around it.
Floating an image is often done using inline CSS because a person wouldn’t normally want all their images floating or all their images floating to the same side. My preference is to create two classes for images, one that floats an image left and one that floats an image right.
Since I used inline CSS to float an image in the CSS float tutorial, I’ll create two classes for floating images in this tutorial, one to float an image left and one right for an embedded or external style sheet. If you don't know what that is, see the style sheets tutorial. Here are the style sheet CSS codes:
img.left {float: left;}
img.right {float: right;}
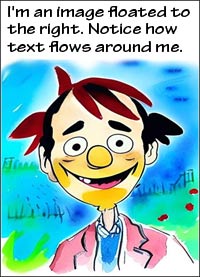
With that in my external or embedded style sheet, if I want to float an image right I just need to add the right class to my image. Here’s how:
<img src="tree.jpg" class="right">
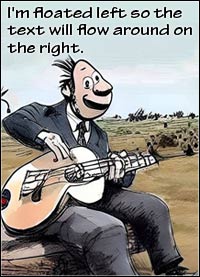 To have the image float left, just change the word right to left in the code example. I left out the image width and height properties and the alt attribute to keep the code short and sweet, but they should always be included. Those topics have already been covered in the images tutorial.
Floating an image allows the text to flow around the image, but sometimes we want the text to stop flowing around an image before it does so naturally. This was covered in the float tutorial I previously mentioned, but let’s run over it one more time to make sure there are enough tire marks on it.
Stopping the text from flowing beside a floated image is done with the CSS clear property and value. The clear property can be added to any block level element such as break or paragraph tags, a horizontal rule, a division element and others.
You just saw the clear property and value in action because I added them to a paragraph tag just before this sentence. Without it, this text would have still flowed beside the image. Here's how that looks in the code:
<p style="clear: left;">
The possible values for the clear property are:
none | left | right | both
 The graphic to the right shows three page layouts. The brown blocks represent text and the orange block represents an image.
The first page, labeled “Original Layout” under the image, shows what happens to the flow of content when an image is not floated. One line of text flows beside the image then the rest of the text drops below the image.
The page layout labeled “Floated Image” shows how floating the image to the right allows the text to flow on the left side of the image. The page seems shorter because there is no “blank space” beside the image. If the image were floated left the text would flow beside the image on the right side.
The page layout labeled “Float Cleared” shows how the page would look after adding a
tag before the text naturally flows beyond the image.
You can see how the text stops flowing beside the image and drops beneath it. You might want to use this when the text describes the image, and drop the text under the image when the description ends and a new train of thought begins. Another use could be to keep a disclaimer or page footer from shifting up beside an image at the bottom of a page.
As I glanced out my window thinking of how I might close this tutorial I watched a squirrel climbing up one of the trees in my yard. It reminded me of you.